How to Turn Off SOS on Your iPhone (& Fix "SOS Only" Mode)
Credit: Apple
You’re probably here for one of two reasons:
Either you've accidentally triggered an Emergency SOS call.
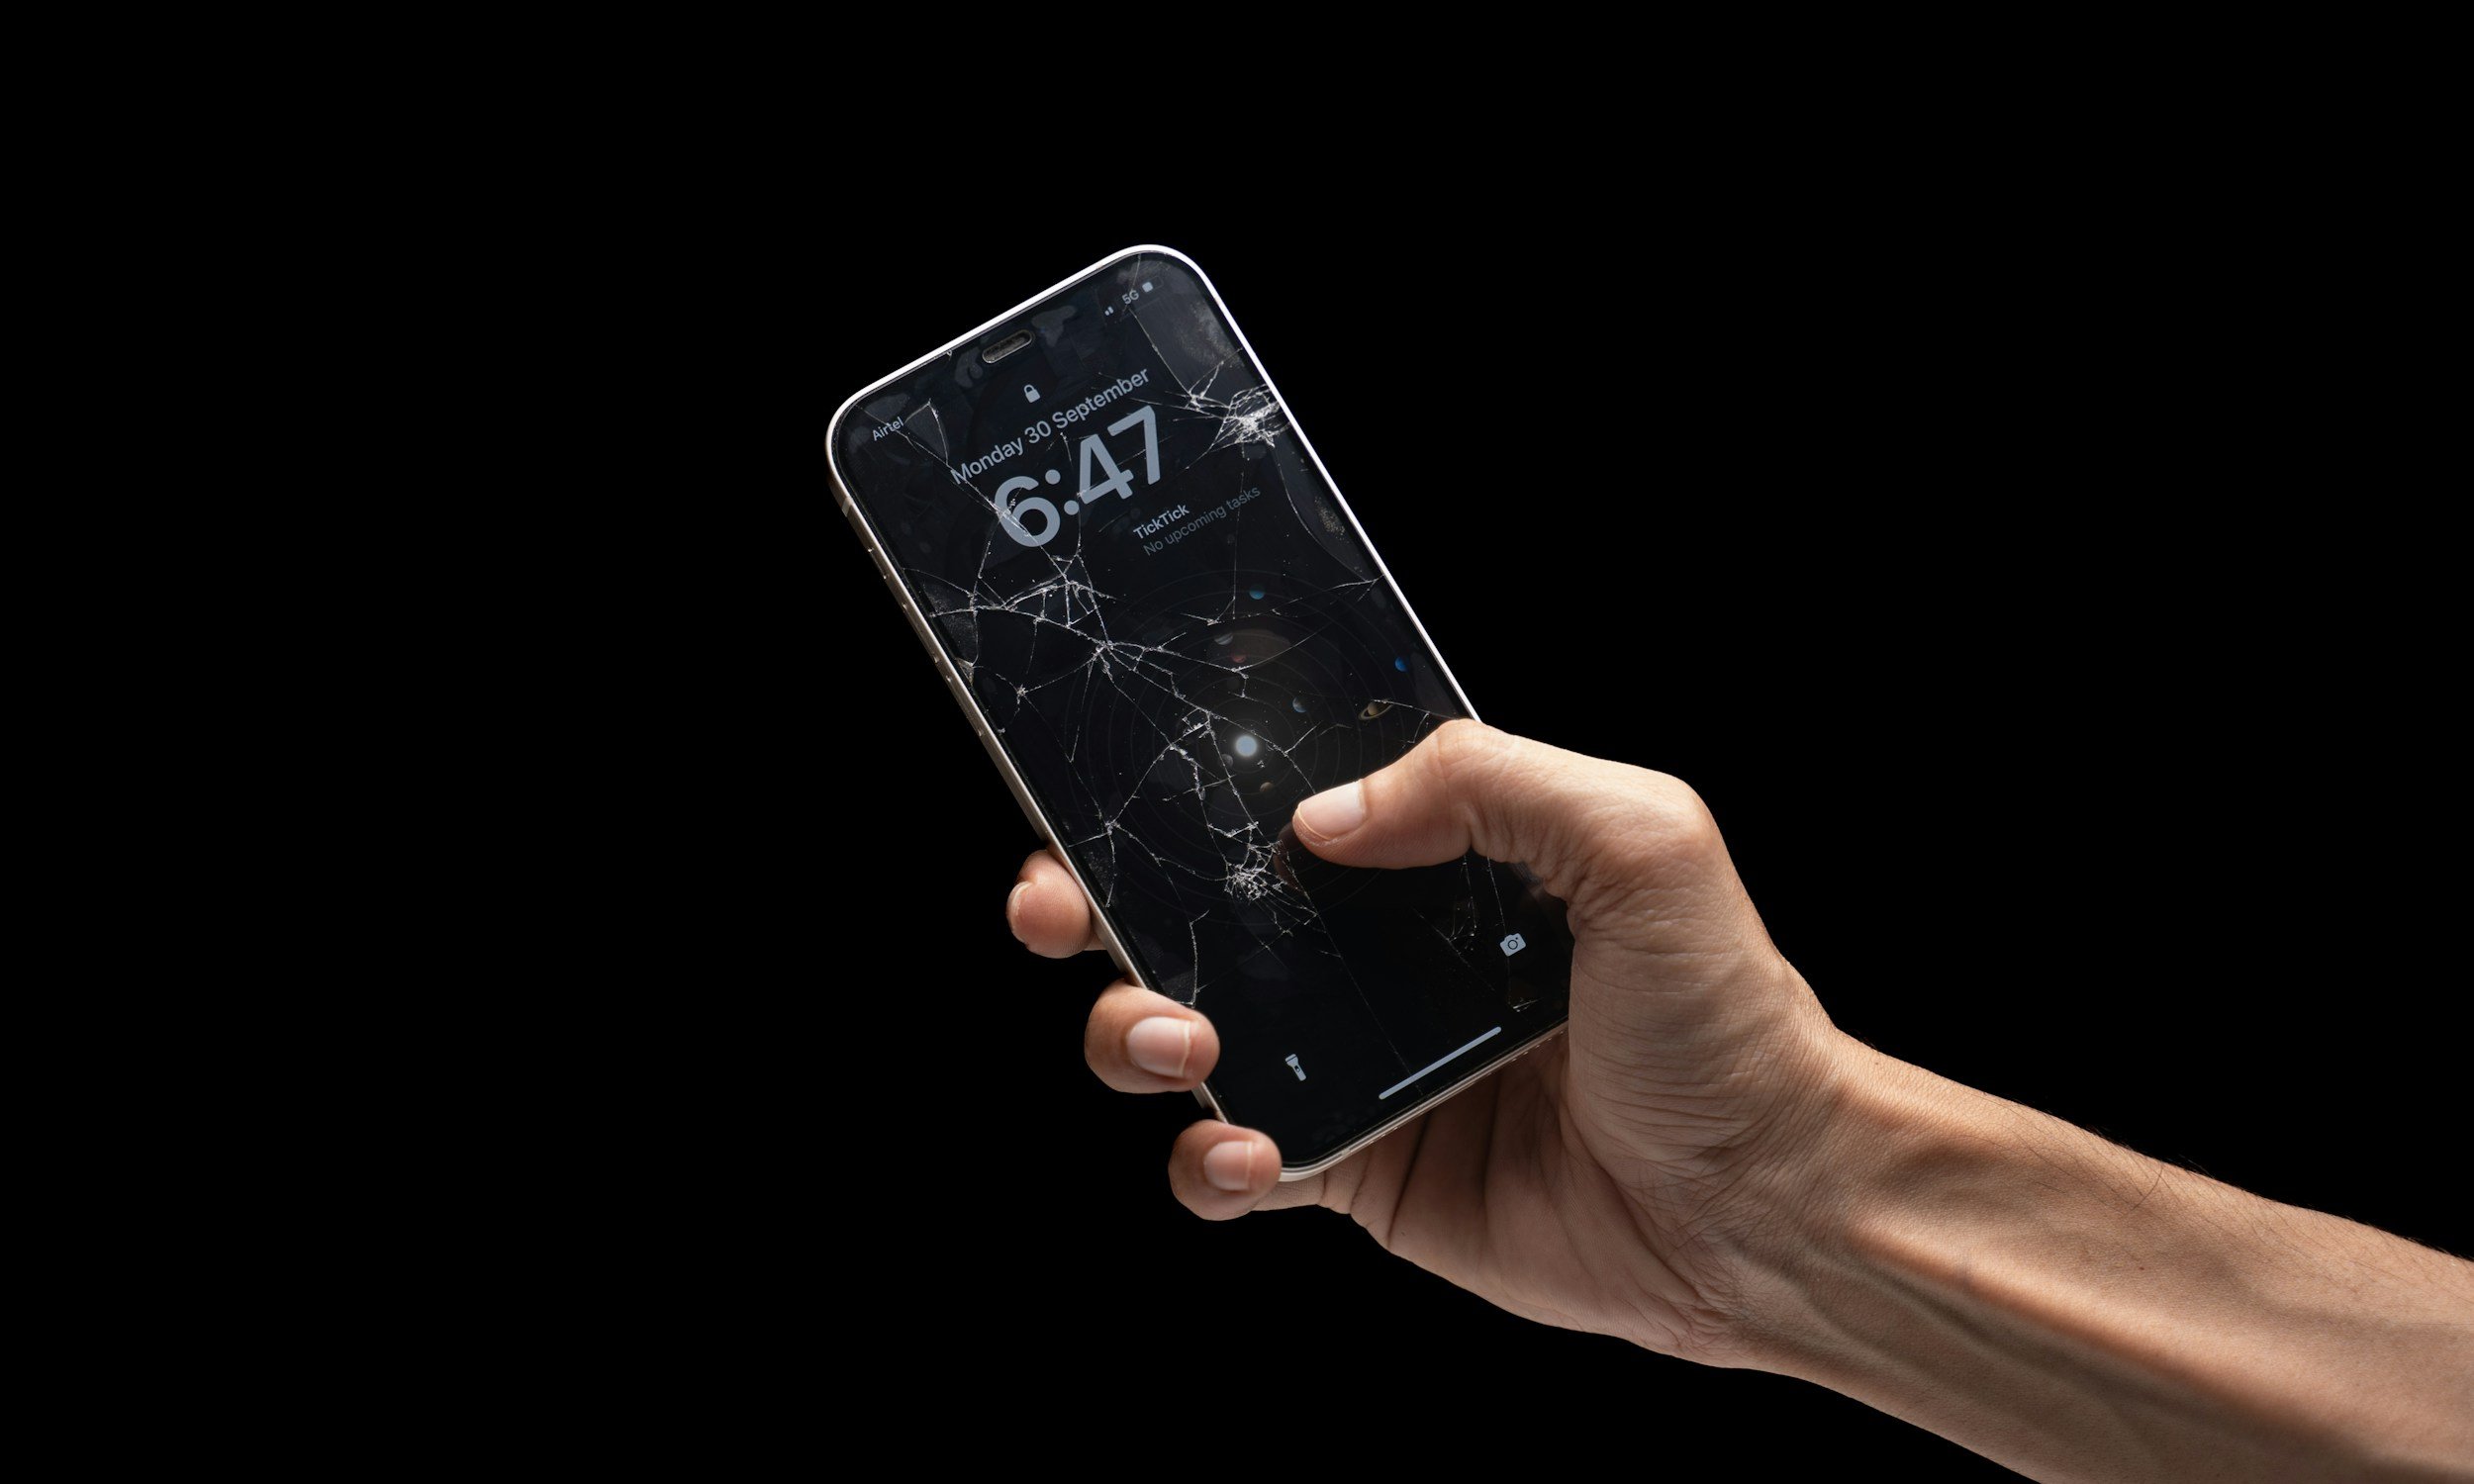
Or, you’re here because you’re staring at the top corner of your iPhone right now. It says "SOS" or "SOS Only," you can't get on the internet, and you’re trying to figure out how to "turn it off."
If you're in either group, you've come to the right place. But first, let's get a critical point out of the way: these are two completely different things.
One is the Emergency SOS feature, an action your phone takes to call for help. The other is the "SOS Only" status, an indicator that your phone has a network problem.
In this guide, we'll tackle both. We're going to walk through how to tame the over-sensitive emergency calling features to prevent false alarms. And we’re also going to troubleshoot exactly what that "SOS Only" message means and the step-by-step process to get your phone's connection back.
How to Turn Off Emergency SOS Shortcuts on Your iPhone
Disclaimer: Before we take a closer look at the settings, let's get one thing straight. You can't completely remove the Emergency SOS feature from your iPhone. It's baked into iOS, and for good reason. Luckily, you can definitely tweak it down quite a bit!
Here’s how to regain control. The process is simple, and you can always reverse it if you change your mind.
Pop open the Settings app on your iPhone. You know the one – the grey gears icon.
Scroll down and tap on Emergency SOS. It’s the one with the hard-to-miss red icon.
Now, you’ll see the two main culprits. Your mission is to toggle both of these off (so the switch turns from green to grey).
Call with Hold and Release: When this is on, just holding the side button and a volume button for a few seconds starts that emergency countdown. Turning this off is probably the single most effective step you can take. The screen to power down or use the manual slider, which you can learn more about in my full guide on how to properly turn off an iPhone, will still appear, but your iPhone won't take matters into its own hands.
Call with 5 Button Presses: This is exactly what it sounds like. Tapping the side button five times in quick succession triggers the call. I find this one gets set off by fidgeting or even just kids playing with the phone. Disabling it adds another layer of control.
And that’s it. By flipping these two switches, you’ve eliminated about 99% of accidental SOS activations. The manual "Emergency SOS" slider on the power-off screen will still be there, ready and waiting, but only when you explicitly swipe it.
How to Turn Off Automatic SOS Triggers (Crash and Fall Detection)
So, we've covered the manual button presses that can lead to accidental emergency calls. But the story doesn't end there. On modern iPhones and Apple Watches, Apple has built-in automated systems that try to detect if you're in serious trouble.
These are nice features. Genuinely. But they aren't flawless, and for active people, they can sometimes be a little too sensitive. Let's look at how to manage them.
How to Turn Off Crash Detection
Crash Detection is a feature on the iPhone 14 and newer models that uses a whole suite of sensors to figure out if you've been in a severe car crash. If it thinks you have, it pops up an alert and, if you don't respond within 20 seconds, it automatically calls for help.
The thing is, its definition of a "severe crash" can sometimes include "riding a roller coaster." This has become a well-known quirk of the feature. The phone's sensors pick up the sudden G-forces and rapid deceleration and, to be fair, make a reasonable (but wrong) assumption. If you're an adrenaline junkie or just planning a day at an amusement park, you might want to temporarily sideline this feature to avoid a false alarm.
Here’s the simple way to do it:
Head into Settings > Emergency SOS.
Scroll down to find Call After Severe Crash.
Tap the toggle to turn it off. You'll get a pop-up asking if you're sure. Tap Turn Off to confirm.
You can, and probably should, turn this back on when you're done with your high-G-force activities.
How to Turn Off Fall Detection (For Apple Watch Users)
First, a point of clarification: Fall Detection is an Apple Watch feature (Series 4 and newer), not something that works on the iPhone alone. However, you manage it from your iPhone, and it relies on your iPhone to make the call if your Watch doesn't have its own cellular connection.
If your Watch senses a hard fall and you don't move for about a minute, it’ll automatically call emergency services. This is amazing for its intended purpose, but I've heard stories of it being triggered by high-impact sports, a clumsy drop of the watch, or even – and I’m only half-joking here – a particularly intense piano practice session.
Thankfully, Apple gives us some great options here.
On your iPhone, open the Watch app.
On the "My Watch" tab, go to Emergency SOS.
Tap on Fall Detection.
Here, you can turn the feature off completely. But honestly, I wouldn't. The better option, in my opinion, is to select "Only on during workouts." This is the perfect middle ground. It provides that safety net when you're running, cycling, or in the gym, but it won't bother you if you accidentally drop your watch while doing the dishes. It’s a smart setting that shows a real understanding of user behaviour (at least for the most part).
CRITICAL ADVICE: What to Do If You Call 911 by Mistake
Okay, so it happened. The countdown finished and the call went through. Your first instinct is pure panic and a desire to smash the hang-up button.
Do. Not. Hang. Up.
I cannot stress this enough. From the dispatcher's point of view, a "hang-up" call isn't a mistake but a potential sign that the caller is in real danger and was silenced. They might dispatch police to your location as a precaution, tying up resources that are needed for genuine emergencies.
Here’s the correct protocol:
Stay on the line.
When the dispatcher answers, calmly explain that the call was an accident and that you are safe.
They will likely ask you to confirm your name and location to verify the situation. Be cooperative.
By explaining the mistake, you allow them to clear the call without dispatching responders.
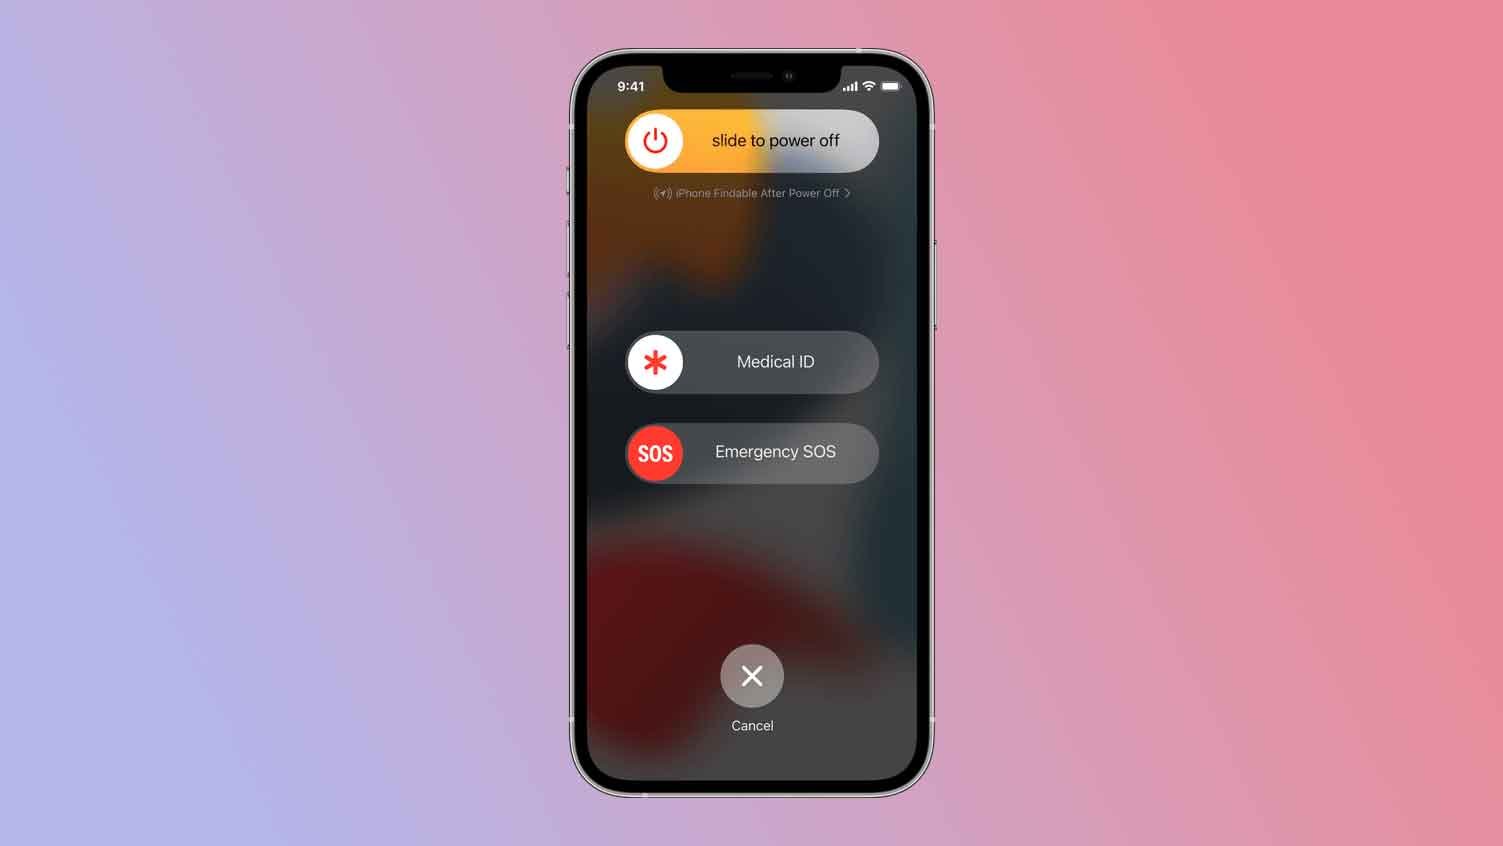
Of course, if you catch it during the countdown, you can mash the "Stop" button on the screen and then confirm "Stop Calling" to prevent the call from ever connecting.
Did My iPhone Contact Emergency Services?
Here's a final point that I find to be a real flaw in iOS design. Even after you successfully cancel an SOS call during the countdown, your iPhone might display a persistent notification: "iPhone Initiated Emergency SOS".
This message is terribly ambiguous. It makes you second-guess yourself – did the call go through? Did it text my emergency contacts? It confirms the sequence started, not that it completed. I’ve seen countless forum posts from people stressing about this.
For peace of mind, here's how to verify:
Check your call log. Open the Phone app and look at your 'Recents'. If 911 isn't listed, the call almost certainly did not connect.
For 100% certainty, the only way is to call the non-emergency number for your local police department. Explain what happened and ask them to confirm they didn't receive an SOS call or automated alert from your number.
It’s an unnecessary stress caused by unclear system feedback. But by adjusting the settings and knowing the protocol, you can at least take back control and ensure this powerful safety feature works for you, not against you.
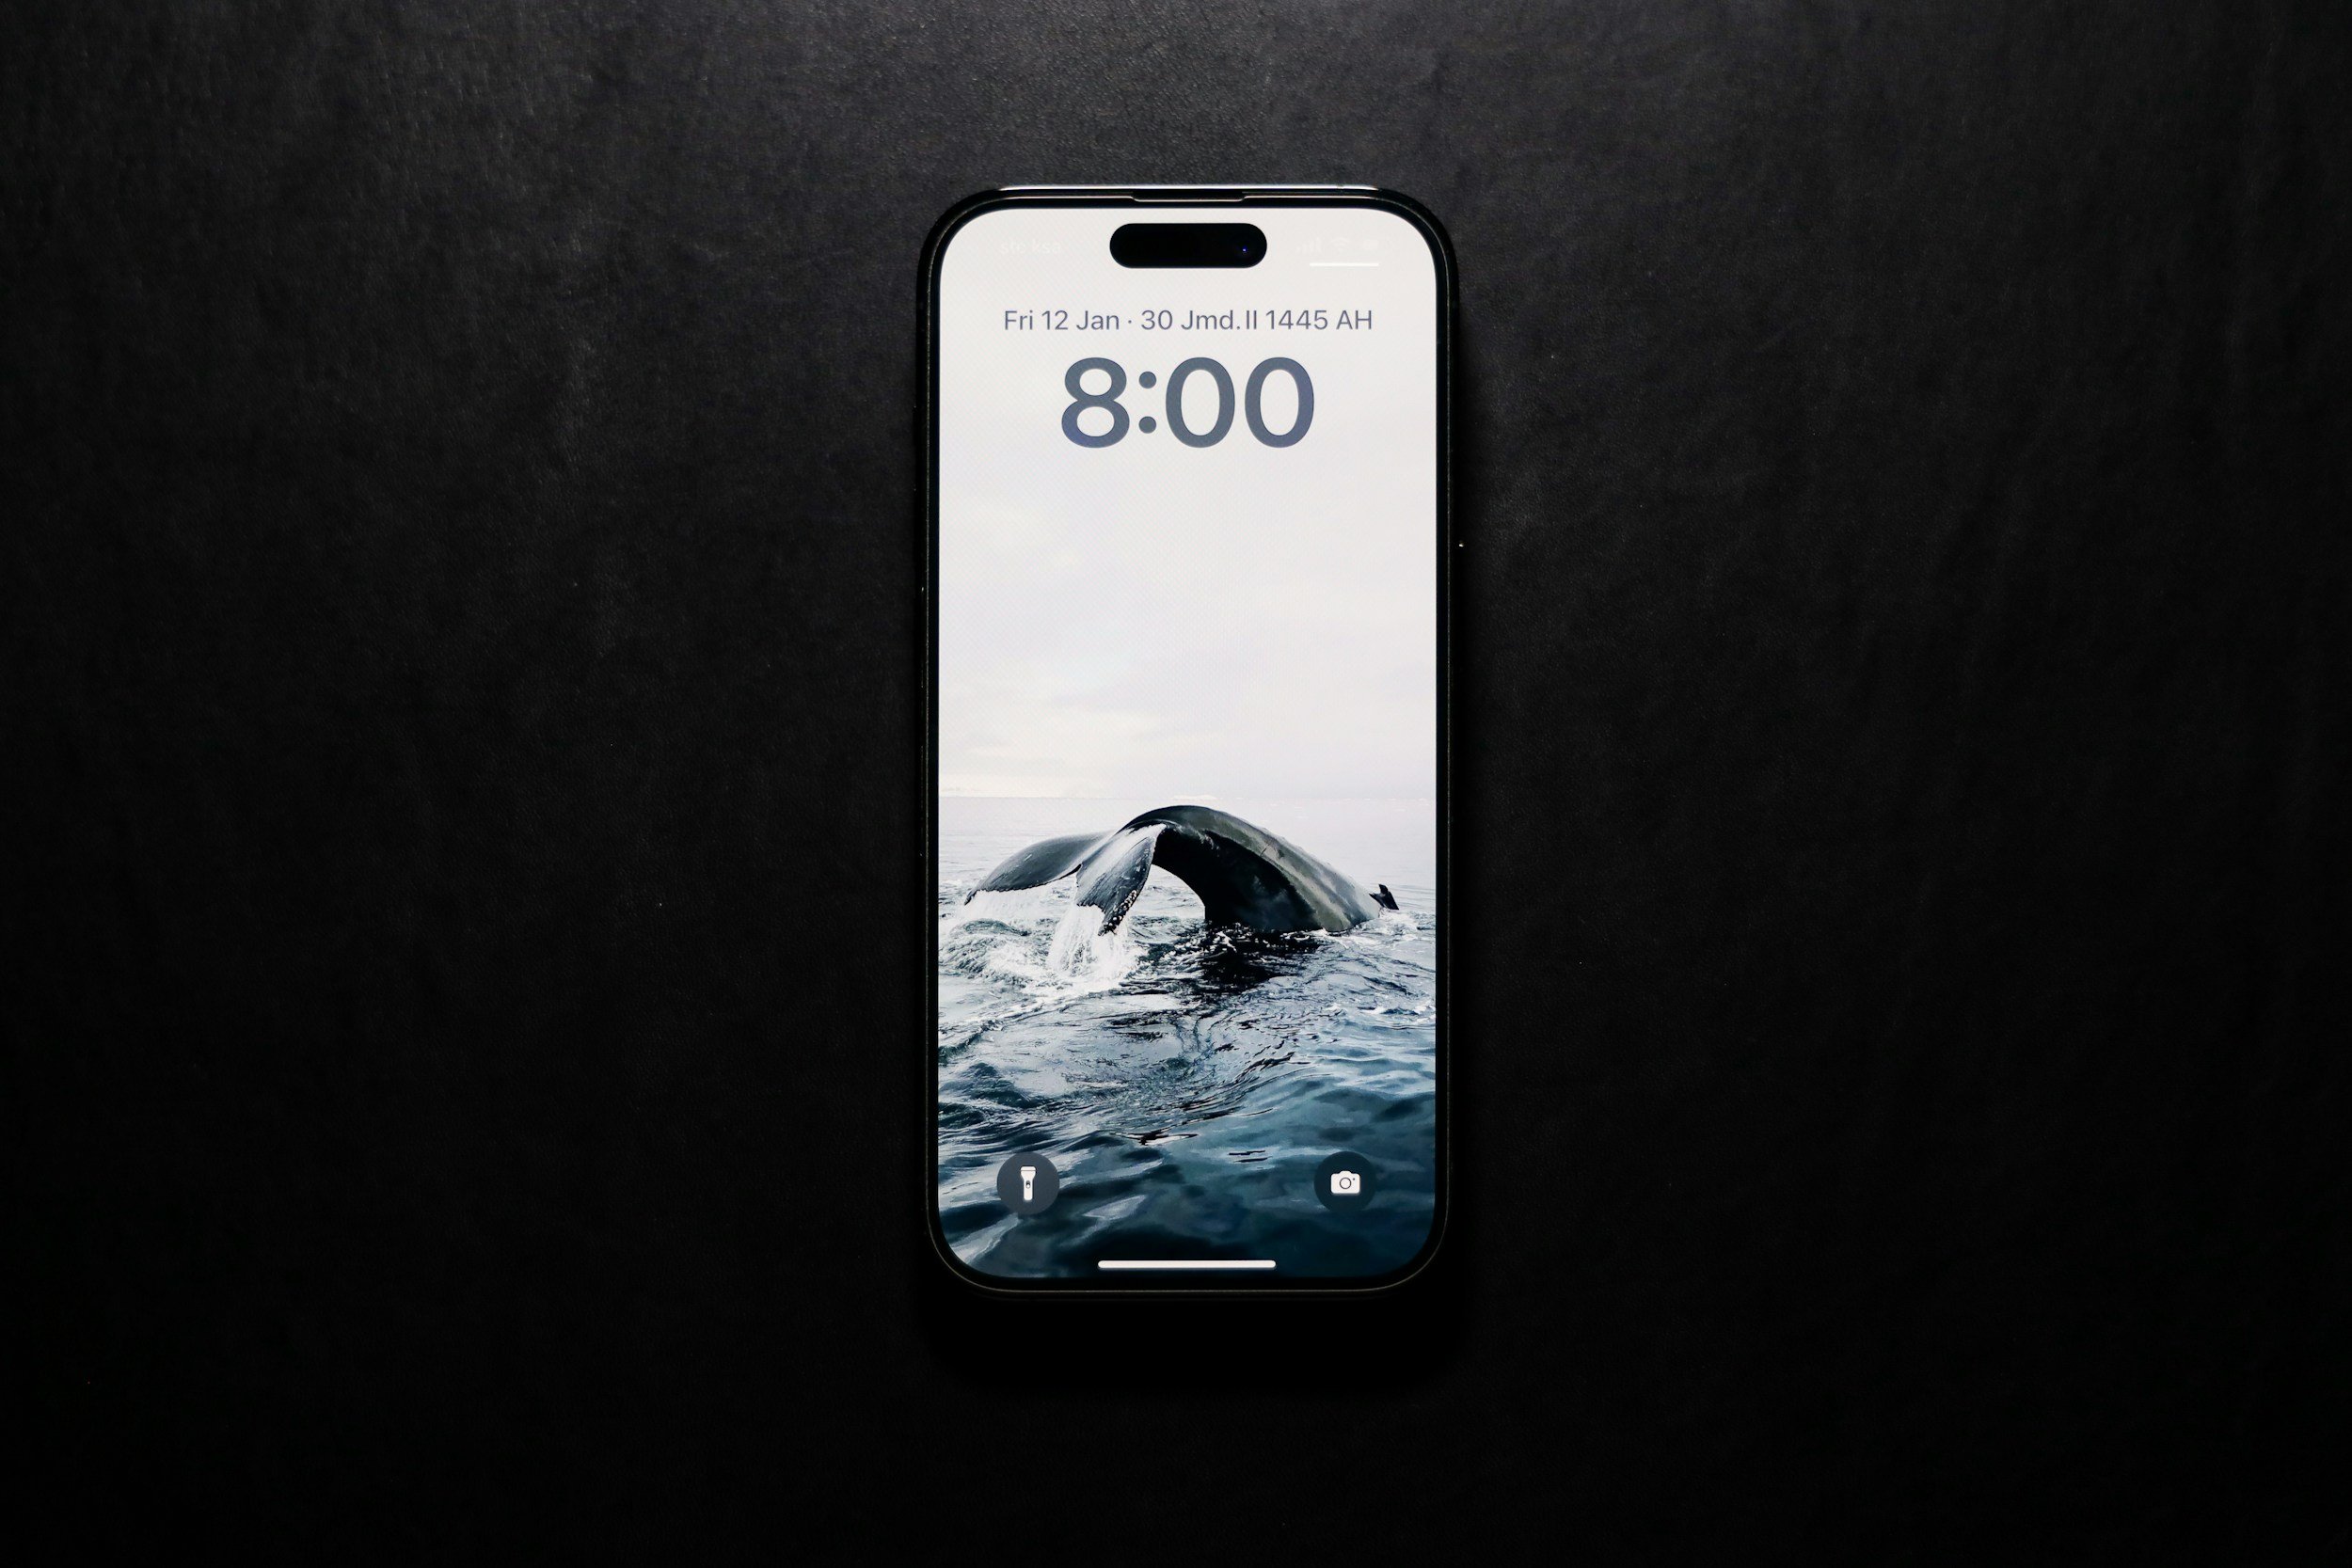
Is Your iPhone Stuck on "SOS Only"? – Here’s How to Fix It

Credit: Apple
Now for those of you who are here for that annoying status indicator.
Let’s be crystal clear: This is NOT the same as your iPhone actively calling for help.
I personally think this one is a huge source of confusion, and frankly, it's a bit of a design flaw on Apple's part. Apple's decision to use the same "SOS" acronym for both an emergency action and a network status causes some unnecessary panic. It’s a similar kind of network confusion to the one many people experience when they wonder why their phone says LTE instead of 5G, but we can get it sorted out.
So, what does it actually mean? It simply means your iPhone can't connect to your primary carrier's network, but it's still able to make emergency calls by latching onto any other carrier's network that it can find. You're in a dead zone for your provider, but not for all providers.
Usually, this is a temporary issue caused by a poor signal. But if it sticks around, it can be maddening. Here’s my personal checklist, running from the simplest fix to the most aggressive.
Just Move
Seriously. If you're deep inside a building or in a known dead spot between cities, walk outside or move to a different location. This solves the problem 90% of the time.
Toggle Airplane Mode
The oldest trick in the IT book, because it works. Swipe down to open Control Center, tap the airplane icon on, wait about 30 seconds, and tap it off. This forces your phone's cellular radio to reset and hunt for a fresh connection.
Check Your Cellular Settings
Go to Settings > Cellular. Make sure Cellular Data is on. Then, tap on Network Selection and ensure Automatic is toggled on (green). If it's off, your phone won't intelligently switch to the best network available.
Force Restart Your iPhone
This can clear out a temporary software bug that's causing the connection issue.
iPhone 8 or newer: Quickly press and release Volume Up, then Volume Down. Then press and hold the Side button until the Apple logo appears.
iPhone 7: Press and hold the Volume Down and the Sleep/Wake buttons together until you see the Apple logo.
For more details, check out my complete guide on how to restart the iPhone.
Reseat Your SIM Card (For Physical SIM Cards Only)
Power your phone off completely. Use a SIM tool or a paperclip to pop open the SIM tray. Gently remove the card, give it a wipe with a clean, dry cloth, and pop it back in.
Update Your Software
A bug could be the culprit. Check for updates in Settings > General > Software Update. While you're there, hop over to Settings > General > About. If a carrier settings update is available, a pop-up should appear within a few seconds.
Reset Network Settings
This is the last resort. It's the "nuke it from orbit" option. It will erase all your saved Wi-Fi passwords, cellular settings, and VPN configurations. It's a pain, but it often solves stubborn connectivity problems. Go to Settings > General > Transfer or Reset iPhone > Reset > Reset Network Settings.
If you've done all that and you're still stuck in SOS mode, you should probably contact your provider or the Apple Support. The issue could be with your account, a wider carrier outage, or a hardware problem with your iPhone.
Don’t Forget the Risks of Turning It All Off!
So, we've talked a lot about stopping accidental calls. We’ve solved the annoyance factor. But before you head into your settings and disable everything, we need to have a serious talk about the trade-offs.
My law studies have taught me a lot about risk assessment, and that’s exactly what this is. The decision to disable these automatic triggers is a personal one, and you need to make it with a clear understanding of what you’re putting on the table. These features exist for the moments when you can’t help yourself.
The Lifesaving Potential You're Opting Out Of
It’s easy to dismiss these features when they’re causing false alarms, but their value in a true crisis is hard to overstate.
When You Can’t Think, or Can't Move Properly
In a real emergency – a sudden medical event, a bad accident – your fine motor skills and rational thought go out the window. The ability to just mash a button, without unlocking your phone or even looking at it, is a deliberate design choice for when you're panicked or physically incapacitated. Disabling it means you're betting on your ability to stay calm and navigate your screen under the worst possible pressure.
When You Need Help, Silently
For anyone in a situation where making a visible phone call would escalate a threat, such as a domestic violence scenario, these shortcuts can be a lifeline. The ability to trigger a call from a pocket or purse, especially when combined with the "Call Quietly" setting that silences the alarm, is a powerful and discreet tool. It’s a layer of security for the most vulnerable.
When You're Unresponsive
This is the big one. This is the entire reason Crash Detection and Fall Detection exist. They are designed for the absolute worst-case scenario: you’re alone, unconscious, or so severely injured that you simply cannot call for help. Turning these automated systems off means that if that happens, no one is coming. No call gets made.
My approach? I don't believe in permanent deactivation. I practice strategic, temporary disabling. If I’m doing something I know has a high chance of a false positive, like hitting an amusement park, I’ll toggle Crash Detection off beforehand. But I make it a habit to turn it right back on when I’m done (I set a reminder).
That way, the safety net is there for the 99.9% of my life where an emergency is far more likely to be unexpected … but remember that all these safety nets are useless if your phone's battery is dead. If you're constantly fighting to stay charged, you should check out my guide on ways to make your phone battery last longer.
Some Advanced SOS Features You Should Know About

Credit: Apple
Emergency SOS via Satellite (iPhone 14 and newer)
This is one of the most significant safety upgrades to the iPhone in years. If you’re an avid hiker, camper, or just travel through areas with spotty service, this is for you. When you try to call 911 with no signal, your iPhone can now offer to connect you to a satellite.
It gives you a simple questionnaire to quickly describe your emergency, then guides you to point your phone at the sky to lock onto a satellite. That message, along with your location, elevation, and battery level, gets sent to an Apple-staffed relay center. A trained specialist then contacts local emergency services for you and can text back and forth with you for more details.
My advice? Try the demo. Seriously. Go to Settings > Emergency SOS > Try Demo. It walks you through the entire process so you know exactly what to expect if you ever need it for real. It’s a brilliant way to familiarize yourself with a feature you hope you never have to use.
Emergency SOS Live Video (iOS 18)
Starting with iOS 18, Apple is adding another layer of context. When you’re on an emergency call, a participating dispatcher can request that you share live video or photos from your phone. In my opinion, this is huge. It can help first responders assess an injury, see the scene of an accident, or just get eyes on your location, giving them invaluable information before they even arrive.
How to Set Up Your iPhone for a Real Emergency
We’ve spent this entire article talking about turning SOS features on and off. But none of it matters as much as this last part. Taking five minutes to proactively set up your iPhone for an emergency is the single most important thing you can do.
1. Your Medical ID
Your Medical ID allows first responders to see your vital health info from the lock screen – no passcode needed.
Open the Health app (the white icon with the heart).
Tap your profile picture in the top-right.
Select Medical ID, then tap Edit.
Fill in everything you can: medical conditions, allergies, medications, blood type.
This is the most important part: Scroll down and make sure "Show When Locked" is toggled on. If this is off, the whole feature is useless in an emergency.
Tap Done.
2. Your Emergency Contacts
From that same edit screen, you can add Emergency Contacts. When you use SOS, they get a text with your location.
In the Medical ID edit screen, scroll down and tap "add emergency contact."
Choose someone from your contacts and assign their relationship to you (spouse, parent, etc.). My wife, Laura, is my first contact, for example.
Tap Done.
When you choose your contacts, think carefully. Pick people who are reliable, will likely have their phone, and can understand a location-sharing link without panicking. And do them a favor: let them know you've designated them. It’s a quick conversation that can prevent a lot of confusion and fear if they ever get that alert.
The Complete iPhone Emergency SOS Feature Overview
What your specific iPhone can do depends heavily on its model and software. The term "Emergency SOS" covers a whole ecosystem of features that have evolved over the years.
I’ve put together this table to cut through the confusion. Find your model to see what you’re working with.
| Feature | iPhone 7 & Earlier | iPhone 8 / X - 13 | iPhone 14 / 15 Series | iOS 18+ Capable | Notes |
|---|---|---|---|---|---|
| SOS Slider | ✅ | ✅ | ✅ | ✅ | Core iOS feature. Cannot be disabled. |
| Call with 5 Presses | ✅ | ✅ | ✅ | ✅ | Can be disabled in Settings. |
| Call with Hold & Release | ❌ | ✅ | ✅ | ✅ | Can be disabled in Settings. |
| Fall Detection | ⌚ | ⌚ | ⌚ | ⌚ | Requires paired Apple Watch Series 4 or later. |
| Crash Detection | ❌ | ❌ | ✅ | ✅ | Native to iPhone 14 & newer. Can be disabled. |
| Emergency SOS via Satellite | ❌ | ❌ | ✅ | ✅ | Requires iPhone 14 & newer. Region-dependent. |
| Emergency SOS Live Video | ❌ | ❌ | ✅ | ✅ | Requires iOS 18. Needs cellular or Wi-Fi. |
Final Thoughts
So there you have it. From the initial panic of an accidental 911 call, to the head-scratching confusion of that "SOS Only" status, to a full understanding of the entire emergency ecosystem built into your iPhone. My goal was to help you move from being a passive user of these features to an informed owner who can make them work for you, not against you.
But if you take away only one thing from this entire guide, let it be this: go set up your Medical ID and Emergency Contacts. Right now. That five-minute, proactive step is infinitely more valuable than any reactive setting you can disable.
Now, I want to hear from you. Have you ever had a false alarm from Crash Detection on a roller coaster or a random SOS call from your pocket? What's your personal take on balancing these automated safety features with the frustrations they can cause? Drop your stories and thoughts in the comments below – I read every one.
And finally, if you appreciate this kind of deep dive – getting past the marketing to understand how your tech reallyworks – then you’ll feel right at home with my tech newsletter. It's where I share my latest hands-on reviews, practical tips you can actually use, and my thoughts on the gear that respects your privacy and your wallet.
No hype. No fluff. Just honest analysis delivered to your inbox. You can sign up for that right here.
Thanks a lot for reading! See you around.


FAQ
-
Short answer: No.
Emergency SOS is a fundamental safety feature baked directly into iOS. Our goal in this guide isn't to remove it, but to take control of the automatic triggers so it only activates when you truly want it to.
The manual SOS slider on the power-off screen will always be there as your ultimate safety net.
-
That's a great question, and the answer is critical: No.
The notification text message to your emergency contacts is part of the complete Emergency SOS action. If you disable the "Call with Hold and Release" and "Call with 5 Presses" shortcuts, your phone will no longer initiate that action automatically. To notify your contacts, you'll need to manually trigger the SOS call using the slider. It makes the whole process more deliberate.
-
No, and this is a fantastic point of confusion for many. The settings for the button shortcuts on your iPhone only affect your iPhone.
Your Apple Watch has its own, separate setting for triggering an emergency call by holding down its side button. To manage that, you need to go into the Watch app on your iPhone, then tap on Emergency SOS, and there you can toggle the "Hold Side Button to Call" feature on or off. They are two independent systems.
-
They might seem similar, but there's a key technical difference.
"No Service" means your iPhone's cellular radio cannot find any compatible network. At all. For calls and data, it's essentially a paperweight until it finds a signal.
"SOS Only" is actually a small step up. It means your phone can't connect to your specific carrier (say, T-Mobile), but it can see a network from another carrier (like AT&T). For safety reasons, your phone is allowed to use that other network for the sole purpose of making emergency calls.
So, "No Service" means you're completely isolated. "SOS Only" means you're stranded from your own network but still have a lifeline for emergencies.
-
As of mid-2025, using the satellite feature is free for owners of compatible iPhones (iPhone 14 and newer). Apple stated at launch that the service would be free for at least two years. They haven't announced any future pricing plans yet, so for now, you can use it without worrying about a bill.
-
This is one of the most stressful and confusing parts of the whole system. In some versions of iOS, it seems the notification message to your contacts can be sent the moment the SOS sequence begins, not when the call to 911 actually connects. So, even if you cancel the call during the countdown, the text message might already be on its way.
It's a definite design flaw in my book because it causes unnecessary panic. If this happens, your best bet is to immediately follow up with your emergency contacts and let them know it was a false alarm.